Thursday, January 31, 2013

January's Organizing Challenge: Kitchen Drawer Reveal

Hard to believe that we are already at the end of the first month of 2013!!  Hopefully, it was as great of an organizing month for you as it was for me.

With the close of January comes the first reveal in our monthly challenge series...Kitchen Drawers!

Thanks to everyone who participated and emailed us pictures.  I love seeing the transformation.

Here are some pictures from one of my readers:
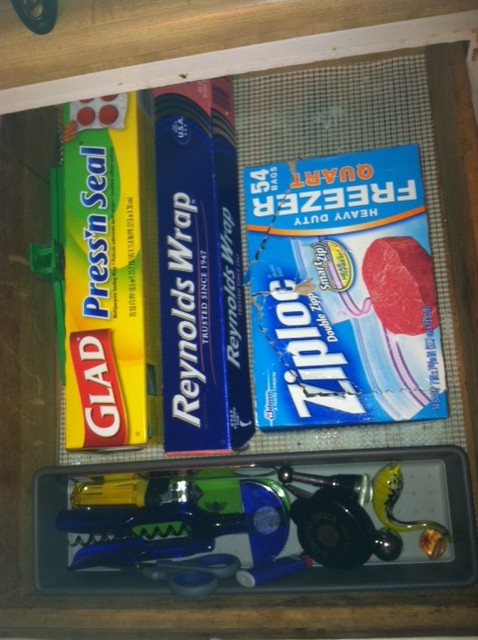
Drawer #1:

Kitchen Drawer Reveal


Kitchen Drawer Reveal

My Thoughts: I love how she removed unnecessary items and incorporated a new container for the serving utensils in her silverware drawer.

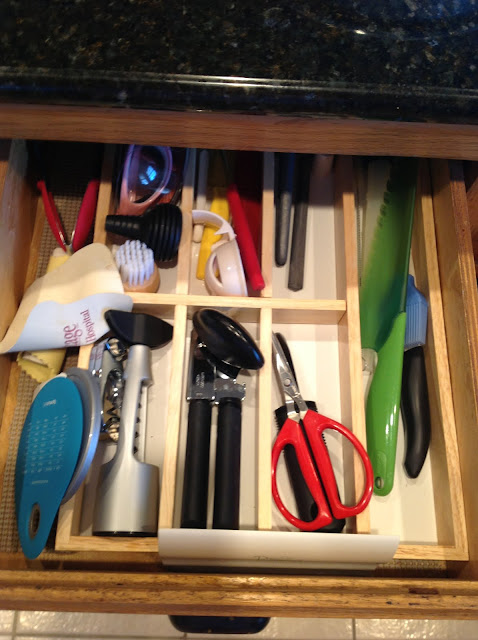
Drawer #2:
Kitchen Drawer Reveal

Kitchen Drawer Reveal

My Thoughts: You can see how much easier it will be for this drawer to stay organized.

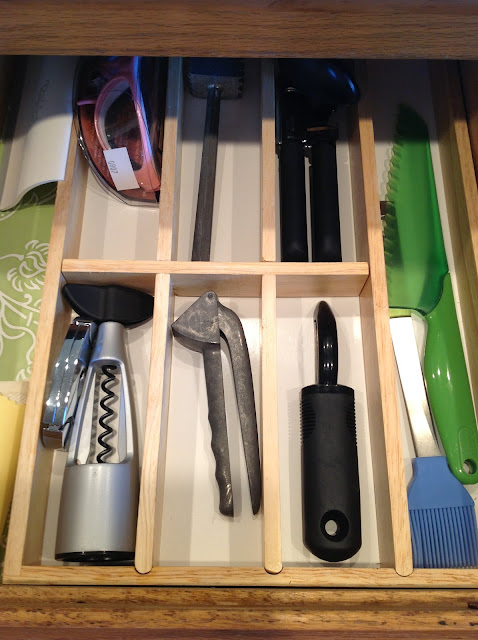
Drawer #3:
Kitchen Drawer Reveal


Kitchen Drawer Reveal


My Thoughts: By adding a container here, she can easily access her utensils. She ordered a knife storage unit that you can see here that will keep her knives as beautiful as she has them here.
Drawer #4:

Kitchen Drawer Reveal


Kitchen Drawer Reveal

My Thoughts: This drawer appears to have the biggest decluttering! She really maximized the space available in this drawer!I love the placement of her measuring utensils!

Thank you so much for sharing your transformation with us.  It’s exciting to know that we are working together organizing one project challenge at a time!

After putting my tip “When was the last time I used this?” to task, I was able to weed out several items and give my own drawers a less cluttered look!

Kitchen Drawer Reveal

Kitchen Drawer Reveal


Kitchen Drawer Reveal

Kitchen Drawer Reveal


Kitchen Drawer Reveal

Kitchen Drawer Reveal


Kitchen Drawer Reveal

Kitchen Drawer Reveal


I knew I wanted to change the contact paper.  It’s such a cheap way to give your drawers a new fresh look!  I had already purchased plenty of paper when I did an “Under the Sink” makeover, which you can see here.

It’s not too late to send in your pictures.  I would love to share them with your fellow “O is for Organize” readers.


And now it’s time for me to announce....
February’s Organizing Challenge:

 Laundry Rooms/Closets

Be sure and tune in tomorrow for ideas on organizing your laundry room.  I will also share pictures of some of my favorite makeovers!!!

 Happy Organizing!

Wednesday, January 30, 2013

Food Fun!

Today I am pretty excited about sharing one of my favorite cooking magazines with you.  You may already be familiar with it and if so, I'm sure you would agree it's a must-have in your library of cooking resources!  Cook's Illustrated is a food magazine that provides everything from recipes to how to grate cheese and not cut your fingers.  The only thing they don't have is advertising...  Can you imagine looking at a magazine from cover to cover and not a single ad?  Believe it!
Now, I will say that if you are only looking for pretty, colorful pages, then this is not the magazine for you!  While the cover is in color, the majority of the inside is black and white.


Today I'm going to share one of my favorite tips that I found in a December 2011 issue....."The Problem with Knife Sets".
According to "Cooks", most knife block sets are loaded with superfluous (had to look this one up - it means “unnecessary”) pieces, but also with ones that are impractical or even useless.  
However, they do offer that,in their opinion,  "there are just three truly essential knives: a Chef's knife, a paring knife, and a serrated bread knife.  Beyond that, a boning knife, a slicing knife (for carving meat), and a good pair of kitchen shears can make certain tasks easier."  I knew then what I needed to make sure got on my Christmas list!
My wonderful hubby, with the help of a very good sales lady at William Sonoma, surprised me with two of the three and a great sharpening tool, which is a must have to keep your knives sharp!


These are a bit pricey, but you can definitely find an inexpensive brand that offers all three of these knives at a great price.  For example, Bed Bath & Beyond sells a Cook’s recommended brand, Victorinox for $76.99 for all three, which with your never ending BB&B coupons, you could get for under $65.  Not bad for three essential knives!
Just to give you a little more info on the magazine, it is available in most book stores or online. And, of course, you can get a subscription at a discounted price.


If you decide to go hunting for the latest edition, here's a picture of the current cover.


Do you have a favorite cooking magazine? Would love for you to share with us!
Make it a Great Day!!

Tuesday, January 29, 2013

Car Organization Kit


For many of us, our car is our home away from home.  Whether we are running kids around from school to activities to doctors’ offices, or we are just driving to and from work, we spend A LOT of time in our cars.

Just as we enjoy our homes being organized, the same goes for our car.

Here’s a list of items that I thought would be helpful in getting and keeping the car organized as well as good to have on those lengthy road trips.  You can certainly add or omit items that are more catered to your needs.   

  1. Disinfectant Wipes (I recently read that gas pump handles carries some of the worst germs you can imagine.)  Kind of makes you want to run out and buy wipes right now, huh?
2.   Band aids

3.   Nail clipper & nail files

4.   Tweezers

5.   Kleenex

6.   Toothbrush & toothpaste

7.   Ziploc bags (just in case someone gets carsick)

8.   Small flashlight or emergency beamer

9.   Travel size packages of “tummy ache” and “headache” medicines

10. Tide Pen/Shout Wipes

11. Small sewing kit

12. Toothpicks

Here is what my kit looks like:
Car Organization


Car Organization

Car Organization


Since I don’t have any little ones for now, I don’t have a need for organizing books, games, toys, snacks, etc. but here are a few kits I found online and wanted to share.


You can even use a small shoe organizer like this one from the dollar store:


It’s also a great idea to have a small trash can in your car.   This will keep your car tidy of all those little things that tend to make our car look so dirty on the inside.  I  recently purchased a new portable vacuum that makes keeping the floor boards clean quick and easy.
So, what’s your car looking like today?  Take some before and after pictures and email us at oisfororganize@gmail.com.


Happy Organizing!!


Friday, January 25, 2013

Decorative File Folders

A couple of weeks ago I blogged about filing and told you I was on the hunt for those “ooh-la-la” decorative file folders.  I found several websites that offer some pretty neat designs, but I also found some pretty not-so-neat prices.

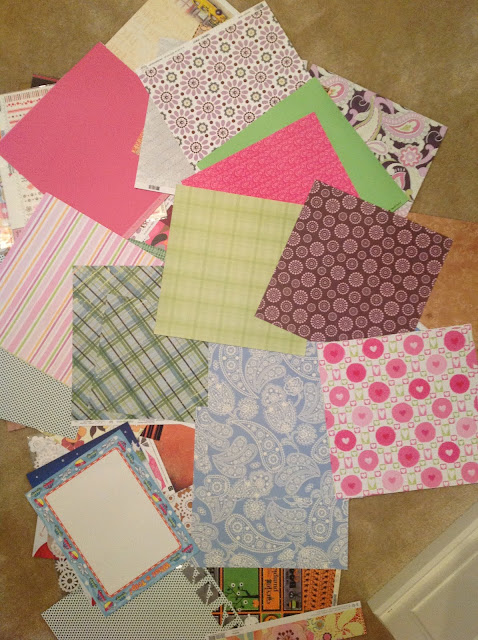
So, I got to thinking….what if I could make my own?  That’s when I found myself in my office/craft room rummaging through my never ending pile of scrapbooking paper. 

File Folders


 I decided on how many folders I wanted and then on the colors, and of course, ended up with my faves!!  You will want to use 12” x 12” paper, and if you don't already have sheets that size lying around your house like I do, you can purchase them for typically less than a dollar from your local craft store.

File Folders


So, besides, the paper and folders, the only other things I needed were a cutting mat,  which I already had, but you can get at a craft/sewing store; a pair of scissors; paper adhesive; and an X-acto knife.

File Folders


After I decided the order that I wanted them in, then I got to cutting and pasting!!

Here's how I did it:
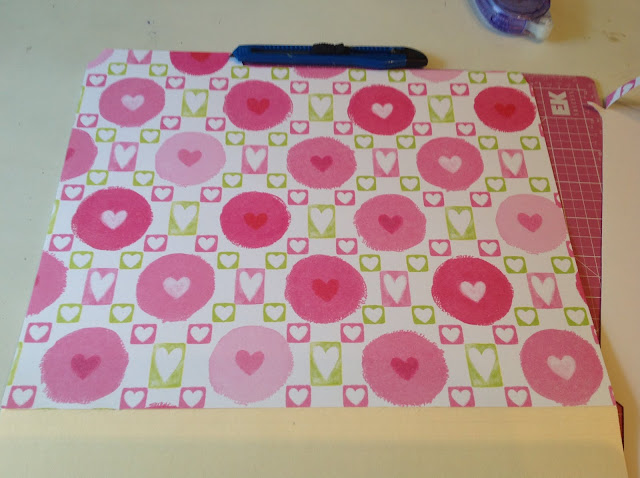
Unfold the manila folder and apply the tape to the folder on one side.
File Folders


Place the paper right side up (check to make sure your pattern is going the right direction) on the bottom and side edge.

File Folders


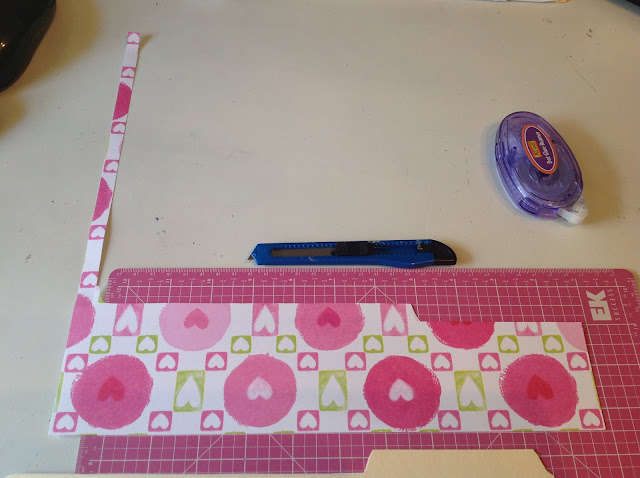
Using your scissors, trim the side of the paper that should be hanging off one side.
File Folders


Use your X-acto knife to trim around the cut edges of the tabs on the file folder.
File Folders


You will end up with a scrap that should look something like this:

File Folders


Repeat the same steps on the opposite side of the folder.
File Folders


With one of the two scrap pieces that you are left with, tape a piece to the inside of the folder that the tab is on to finish it off.  Again, you will use your scissors and knife.  You can mix and match this piece to add variety to your folders.

File Folders

File Folders


I’m silly in love with my new folders!!!


File Folders


So, here’s before & after:

File Folders

File Folders


A fun, quick & super easy project!!


Have a great weekend,


Kim

Thursday, January 24, 2013

A Pinterest Project

If any of you follow O is for Organize on Pinterest  Follow Me on Pinterest  you probably know I LOVE PINNING!  There are so many great ideas, looks, recipes, etc.  One of my favorite categories is DIY projects, so you can imagine how excited I was when one of my sisters told me we were going to do a DIY Pinterest project this past weekend while I was visiting her.

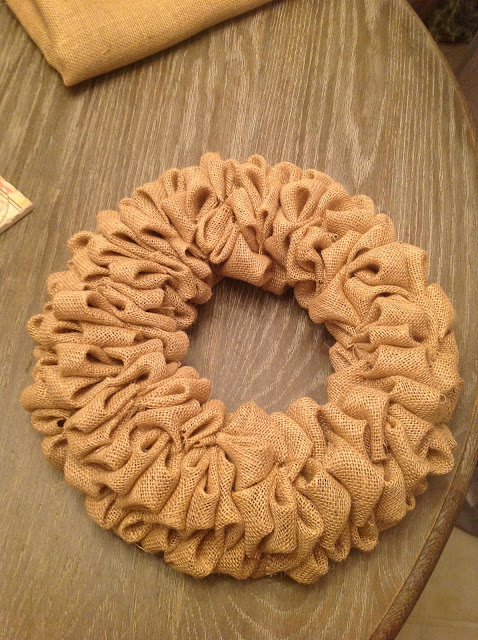
Denise (my sister) was so excited to share the project she found with me, she even went to the store and had everything at the house already waiting for me when I arrived.  The project she chose was making Burlap Wreaths!  Oooohhh yea!  Couldn't wait to get started!

So, here's what we did: 


Backup.....I should probably start with items used, I guess since I didn't have to get my supplies myself, I almost forgot to share with you.


Pinterest Project


You can click here for exact materials and directions.  I will share some of our experiences that we found, while making our wreaths.

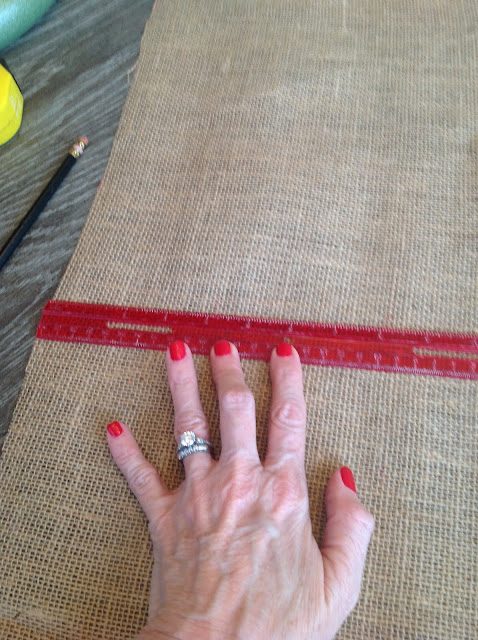
We measured the 4" strips with a 12" ruler and marked 3 strips to cut at a time.  Then we cut our 4" squares.  Denise bought extra fabric, which was a good thing because we found that the burlap moves and it's not a perfect cut.

Pinterest Project

Pinterest Project


Pinterest Project


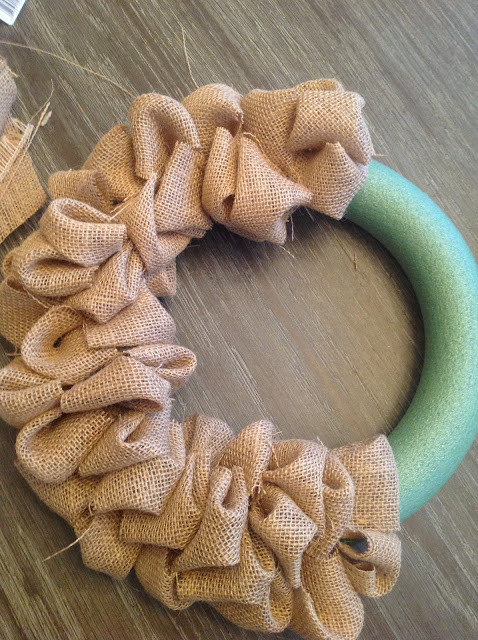
Being the two blondes that we are, it took us a few tries before we figured out the directions on folding the squares to form the bubble.  In the Pinterest directions, it says to fold the square into a triangle (easy enough) and then take the right hand corner (pinch one layer of the fabric on the very tip) and bring it to the front and line up the corners, repeating the same thing on the left hand corner.  Sounded easy enough!  When we did what we thought was right, it didn't look like hers. It wasn't until Denise accidentally figured it out that we realized what we were doing wrong.  When the instructions say, "pinch one layer of the fabric on the very tip", it means exactly that!  We were pinching a piece of the top layer and folding it over.  Once we figured it out, the process moved very quickly.


Pinterest Project

Pinterest Project

Pinterest Project

Pinterest Project

After a couple of hours, the wreaths were done.

While we were busy making our wreaths, the crockpot was busy making one of my favorites, which Denise was so sweet to make for me, French Onion Soup!  Yum yum yum!

Pinterest Project


Once I arrived back home on Sunday, I couldn't wait to find the perfect spot for my new wreath!  I attached a Valentine decoration and placed it in my keeping room and have been enjoying it everyday since.
Pinterest Project


I’m looking forward to using my wreath throughout the year by simply attaching different decorations.  Oh the ideas are limitless!

Have you tried any new projects lately? If so, we would love to hear about them!