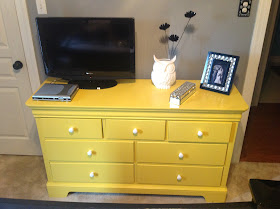
As part of my guest room makeover (that I mentioned in an earlier post), I wanted to incorporate a piece of furniture that I could use for storage as well as something to put a tv on for my guests. We had a dresser in a storage facility collecting dust and costing us "moolah" to store it. It's a solid piece of furniture, but just wasn't going to work with the finish that was on it. So, I decided it just needed a different color and some new handles.
I've only refinished one other piece before this one, which I shared with you earlier, so I am definitely a rookie when it comes to refinishing furniture. Hence, I've learned a lot of "to do's " and "not to do's" when it comes to this task.
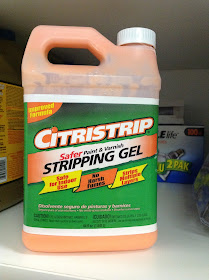
I have to send out a big "thank you" to our friends, Dan and Liz, because I'm pretty sure they saved my right elbow when they told me about "liquid sander". Anxiously, I ran to Home Depot and picked up a bottle of Citristrip Stripping Gel along with all of the necessary tools needed to use liquid sander to complete my job.
I was shocked at how easy the finish came right off. I used a scraper and a stainless steel paint pan to scrap off the finish. The entire stripping process took less than an hour!
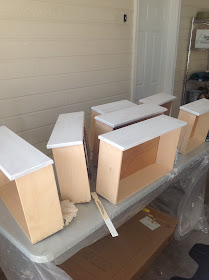
I used painters tape to protect the areas that didn't need any stripping. After 3 coats of paint and 2 coats of polyurethane, I was finished!
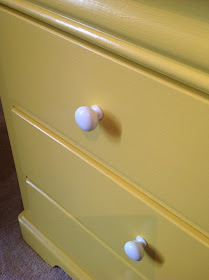
I tossed around handle colors and decided I wanted something simple and went with these:
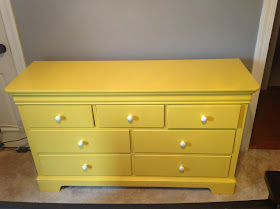
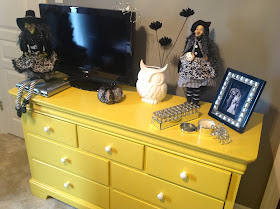
I couldn't wait to get it into the guest room to see it bring the room alive. I am so pleased with the turnout! I've already had several guest who have loved it and its even made part of my Halloween decorating!
So, here's the before and after... What do you think? Have you done any furniture makeovers.? Please share!



No comments:
Post a Comment