Showing posts with label garage. Show all posts

Monday, April 1, 2013

March Challenge Reveal


Whew….what a month….what a challenge!

First, I must say….this was a tough one for me!

When you see my before pictures, you will know immediately what I’m talking about!  If anyone had a garage that looked as bad as mine before, you can relate!

Every time I walked out my back door and into my garage, I cringed.  So, this challenge was one I knew needed to happen but was dreading (and so was my husband)!

But, now that it is done, I couldn’t be happier and I think my husband even said, “we could eat off the floor out here”.

I think most people (me included) love to see before and after pictures, so I’m not going to delay any further:


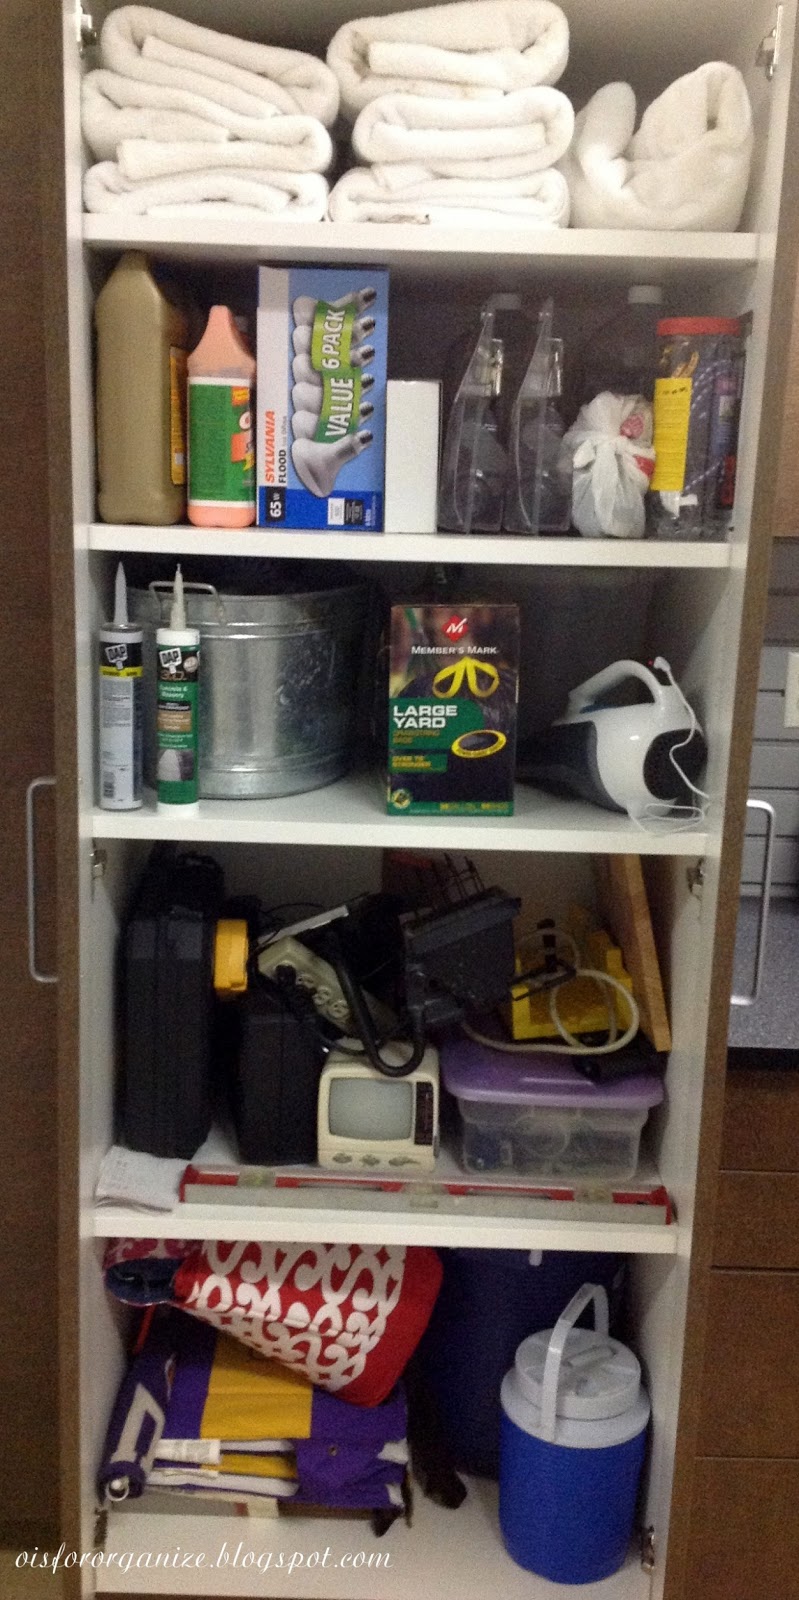
Okay...let me just say the cabinets were installed prior to March but I literally tossed items in them without any organization because I just wanted to get things off the floor. So, here's some before and afters of the cabinets.


I wanted this cabinet to be mainly dedicated to sports items.


This cabinet has small items like masks, sandpaper and hooks in the plastic containers on the top shelf.  I put the electric drill and air pumps on a shelf that has an electrical outlet so they can be charging when not in use. The bottom half of this cabinet is dedicated to thermoses and stadium items.


Here's a close up of those smaller items that worked great in these containers.


Not sure why I didn't take a before shot of this cabinet, maybe because I didn't have to make a lot of changes to it.  The top shelf is large light bulb storage and the second shelf is auto and motor oils for lawn equipment.  The bottom two shelves are for lawn and landscape.

Some containers my daughter made in a pottery class.  My Dad was quite handy and she made them for my Mom in his memory.  When my Mom passed, I knew I wanted to have them in my garage.  


I used drawers to store things like paint supplies, electrical cords, work rags & towels.


This is a deeper drawer that holds large extension cords.  Here are some of  my cord cuffs being put to good use!


I had these glass containers that I didn't want to get rid of so I decided to store nails and screws in them!

This next shot is really, really bad but it makes for a great Before & After, right?! 


There was a TREMENDOUS amount of purging that took place!  The ping pong table went to a nephew who has reported his ping pong skills have never been better!


I call this my Husband's Wall of Fame!  

This came together in various stages.  Thank goodness for my engineer husband for this part.  After deciding what we wanted to hang on the wall, I researched different systems that I blogged about here.  

We laid everything out on the garage floor to determine placement of items to place on wall.  

We He then had to determine how high he could install the tracks.  After locating the studs and installing the metal track, we attached the facing.  Then we were able to attach all of the hooks.


Just had to show it off again!

This is the wall closest to the door leading into my house.


These containers are used to store flashlights, batteries, small light bulbs and patio items.  I also keep my bird feed stored in the large pitcher.  It has a spout that makes it easy to fill my bird feeder.


After we saw how nice and organized the garage was, the dirty floor really stood out and we knew we had to change it.  
My brother in law shared this product with me that he used on his floor which I  have admired for years, so I didn't have to do a lot of research in making a selection.  I went with tan but it is also available in gray.  It is a much cheaper version than having it done professionally (I actually got a quote a couple of years ago and I almost passed out!)

My husband painted a 4' x 4' area at a time, (as instructed) and then I went behind him with the chips!


Well, there you have it!  Like I said, "Whew, what a challenge".

Can we say Heaven!!!
So, please, please, please send me your pics of your Garage Makeover regardless of how small or big.  I don't want to think I (& the hubby) were the only ones out there working our "you know whats" off!

Now that March and our garages/sheds/cars are done, it's time to get busy in April!

I will share a lot more about it tomorrow, but April's Monthly Challenge is:


Kitchens 

Thursday, March 14, 2013

Paint Storage – Part Two


Yesterday, I left off with cutting way down on my paint inventory and the task of determining new storage for what paint remained.

Lucky for me, I found this great post over at http://iheartorganizing.blogspot.com and I couldn’t wait to get started! 

I downloaded (for free I might add) her printable Paint Project Color Reference chart that I used to list all the paint colors I'm keeping.  This will work as a great cross referencing tool! 


I knew I had several gallon cans that would have to stay as is and I would continue to store them in the garage (just a lot less of them).  For the smaller cans, and those with little paint left in them, I wanted to do something different. 

So, once again, thanks to Pinterest and Jen at iheartorganizing, the answer was already there for me.  Mason jars!!!


Now I just needed labels!  Bummer for me that I don’t own a Silhouette Cameo machine to make colorful labels like hers to go on top of the jars!

So, I had to get a little creative.  My first thought was that I wanted something fancier than a plain circle to make my labels, so I quickly jumped in my car and ran to Jo-Ann’s.  I purchased this large punch for $17.99 (yikes), but justifying it (kinda), I bought it anyway. 


As I was heading home, it hit me!  Avery labels!  I u-turned and headed to Office Depot and there they were – just waiting for me to take them home.  Oh yeah, the good news – with my Office Rewards card I got them for $10.49!  Woo hoo!!! 


Of course, they were plain round, but by adding a template they took on a totally different look.

I could not get over how simple they were to make!  I went to avery.com/print and the rest is self-explanatory!


All that was left was the pouring and disposing of the empty cans!  Since I was by myself for this part, I don’t have any pictures to share, but let me just tell you – I was enjoying every little minute of it!

And why wouldn’t I? 


I could not wait until I had finished all of my jars, to snap a photo!


All of the colors are easy to see and as Jen said,  easy to keep clean!

As for the large punch, that will be going back to the store today!
 
Hope everyone is having a great day and working hard to get their garages in order!

Wednesday, March 13, 2013

Paint Storage – Part One


One of the many items that I have to purge through before I can complete MY garage makeover is P A I N T ,  lots and lots of P A I N T


Several of the paint cans that I have stored in the garage are old paint colors, no longer being used in our home or they are too old to use.  So, why hold on to them right?


Disposing of paint is not as easy as just throwing it in a garbage can and putting out for pickup.  I researched a couple of websites and learned that at least in the state of Louisiana, there are some guidelines.

To sum it up:

1.      The best way to dispose of paint is to use it all, of course, not mandatory (haha).

2.      If you can’t use it all, they suggest that you pass it on to someone who could use it!  Really?  I can’t ever recall picking a color of paint that I knew just the right person that would want my leftovers!!  Pardon the sarcasim, but really?

3.      If the can of paint is more than ¼ full, you should take it to a household hazardous waste location.  Baton Rouge’s Spring 2013 collection will be Saturday, June 1 at Memorial Stadium.  You can research online for your particular area, if you have such a requirement.

4.      Hardened/dried-out paint can be disposed of in a landfill. Leftover latex paint can be dried by removing the lid and allowing the paint to air dry. Be certain that the drying occurs in a location protected from children and pets.

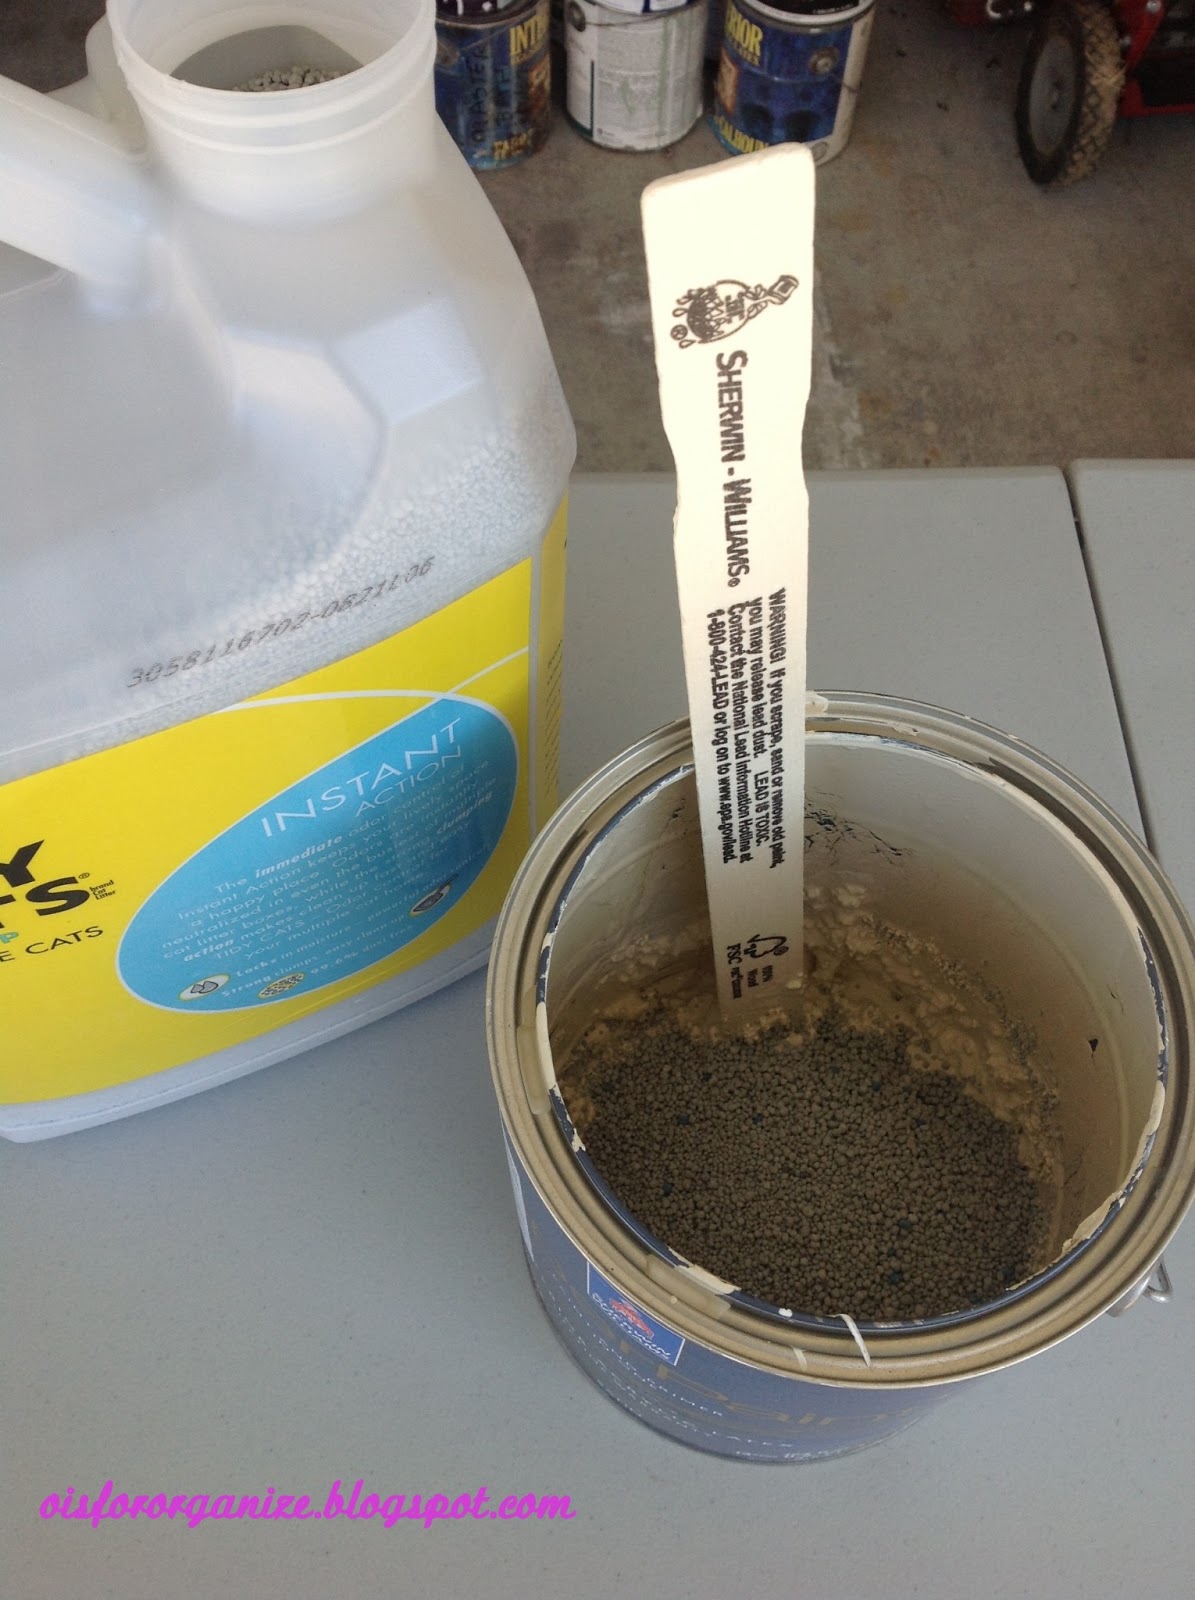
5.      If the can is less than ¼ full, you can mix it with an absorbent (i.e. kitty litter or dirt) and dispose of in a landfill.

6.     Empty paint cans and those containing dried paint can be safely disposed with municipal trash.

So, my process began…

Here’s some “uh oh” wrong colors of paint drying out….


Off to Wal-Mart I ran to get kitty litter and this part was lots of fun….


Now that I’ve cut my inventory in half my next project will be determining how to store the remaining colors for touch-ups, etc.


…stayed tuned for Part 2 of Paint Storage

How is your garage challenge going?  Please share your comments here.

Have a great day!