Showing posts with label laundry room. Show all posts

Friday, March 1, 2013

February Readers' Features and the next Monthly Challenge


Today’s post features a couple spaces from readers that participated in my February Laundry Room Challenge.

I was so excited to receive these features yesterday afternoon; I could hardly wait to share them with all of you.

Here’s the first one:

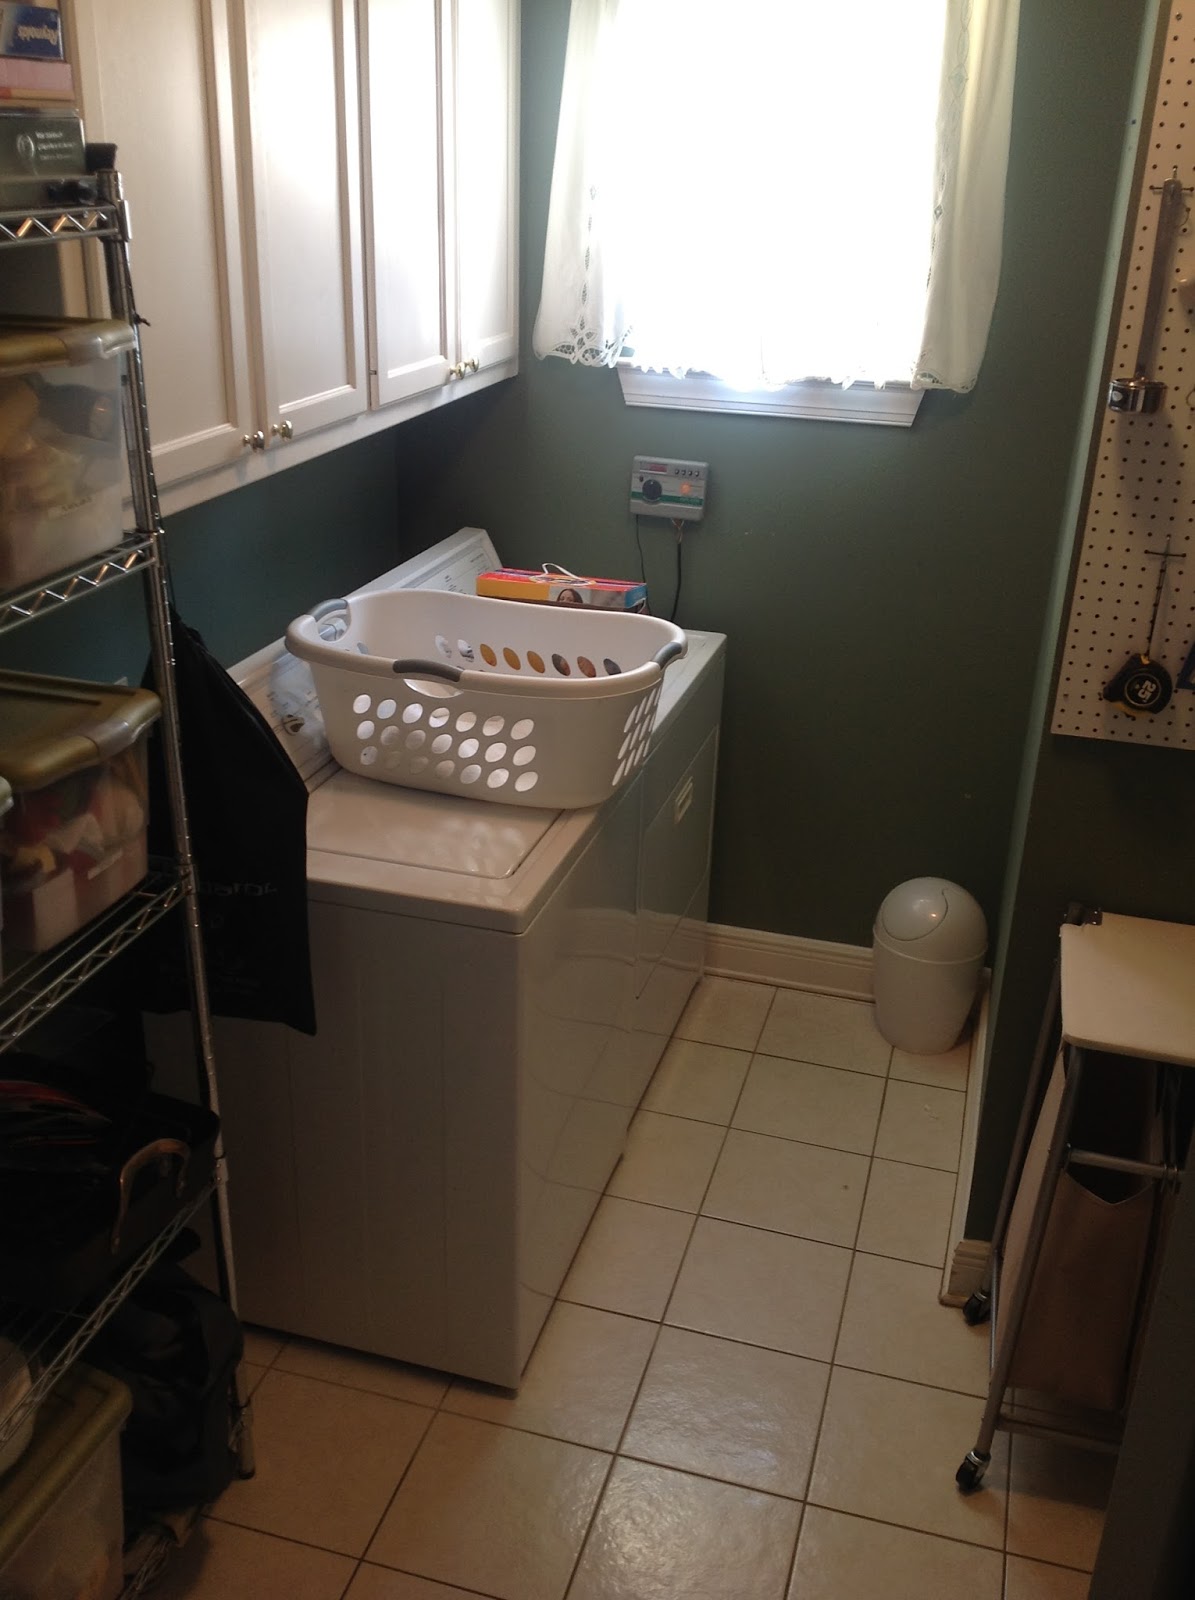
It looks like she had some good ideas before the challenge and I think you will be able to see how she really took those ideas to the next level. Here are her before pictures...


And here are her afters...


Why I like it:

  • The clutter is cleared!
  • Using decorative hook racks for items like her vacuum attachments and other things is not only effective, but also unique!
  • Her colors are all cohesive and the fresh coat of paint on the walls really shows off the room!
  • I love her daughter’s backpack hanging on a hook, which keeps it off the floor and from getting dirty.
  • By adding baskets to the top of the dryer, she’s keeping things in order and accessible.
  • And my favorite addition to the room, the colorful rug!

I bet walking into her laundry room puts on a smile on her face!

Now from another reader:

 This reader shared with me that she was on a tight budget for a laundry room makeover (under $100), but wanted to make some changes to the room because it was not functioning as well as it could be.  I think you will agree that the changes have made a great improvement to the space.


By adding an inexpensive pegboard she was able to get things off of the floor and onto an organized wall!


I love that she added these great baskets on her shelf that keeps things hidden and in order.  She incorporated an inexpensive curtain and then added some DIY ribbons – what a great idea!


By adding the tray on top of her dryer she is able to easily access the dryer sheets and a place to drop the pocket change.

Challenge

The additions of the rug and wall décor (which she found from our previous blog) finish the room off nicely.

challenge

Thanks so much ladies for sharing your makeovers with the O is for Organize community!

So, now that February is behind us, are you ready for the March Madness of organizing?
Seems like an appropriate time to get our GARAGES/CARPORTS/STORAGE SHEDS cleaned up for the summer!  This might be a challenge that you can recruit the help of hubbies, boyfriends, kids, neighbors (just kidding) - you get the idea!
I hope I have gotten your juices flowing for March’s challenge!  Stay tuned next week for some ideas and tips on getting your space organized.
Have a great weekend!

Kim

Thursday, February 28, 2013

Laundry Room Reveal


Wow!  Where did February go?  Did you get your laundry room makeover complete?  I put the finishing touches on mine late last night just before my daughter, Katie, came over to take the after pics! 

Which reminds me that I want to thank my hubby, Calvin, daughters, Kelly and Katie, son-in-law, Brad and sisters, Denise and Pege, for all of their help and support.  You will definitely be able to tell it was a joint effort!
Several months ago, I was in one of my favorite shops and found a light fixture I could not leave the store without!  As soon as I saw it, I knew I wanted it for my laundry room, and that began my inspiration. (I forgot to take a picture of it before it was installed, so you'll have to wait and see it in the after shots...sorry!)
The laundry room had not been painted since before we bought the house so it was definitely in need of a fresh coat!


After seeing a color that I liked on Pinterest, I thought I knew exactly what color I wanted, but when I saw it in person, realized it wouldn’t go with the rest of the house.  So, I ended up with Sherwin Williams Silvermist and I love it!


I had no plans of painting the cabinets, but my daughter said, and I quote, “Mom, you have to paint the cabinets!”  Annie Sloan to the rescue!  I could not believe how easy it was!  No sanding, scraping, soar muscles…you get the picture!


 (And there's that light fixture I could not live without....isn't it great?!!?!)

I found these switch plates when I was looking for new knobs.  I love when I can make a small inexpensive change and it makes a big impact!

When we first moved in to our home years ago, I purchased two of these metal shelving units, which I had somewhat of a system for but wasn’t really utilizing the space to its full potential.  So, they have found a new home, which is a hint to what next month’s challenge will be!


Additionally, I had a pegboard in the laundry room that I intended to use to keep some items more accessible, but it just was not being utilized in the best way.
Some of the items that were on my pegboard are now being stored in one of the cubes in my new Closemaids Cubical Storing Unit I got to replace one of the shelving units.  The pegboard has also found a new home not far from the shelving units. It was so much fun filling up the cubicles!


An unused old picture frame was used for my Martha Stewart Stain Removal basics that I mentioned in an earlier post here.


I made the labels for the baskets to match the one I made for my laundry detergent which I posted here yesterday!


The frame hanging over the unit was actually a Goodwill find! I changed out the pink and white polka dot fabric it came with and replaced it with some leftover burlap from my WASH project.


The hubby and I had fun installing the shelf over the washer and dryer. I was actually able to use a piece of leftover wood I found in the garage for the project. I couldn’t believe it was the exact size I needed, it just needed some color!  And, it gave me the perfect spot for my DIY WASH letters (see post here) I made for the room.


Before the challenge, I was using two separate units for housing the laundry.  I liked the idea of having the unit with three bags for dividing laundry and I liked having a unit to hang clothes on, but I hated how much room they took up.  Needless to say, I was ecstatic when I found this one that combines the two into one.


Finally, this rug pulls all of my colors together and was a bargain compared to other rugs that I looked at online.

And, I know everyone loves before and afters, so just to recap…


In the end, it’s still a laundry room, but I can honestly say that it is a happier place! Stay tuned because tomorrow we will post some reader makeovers!!!


I have listed below where some of the items came from and colors if interested:
1.  Wall paint color – Sherwin Williams Silvermist SW7621
2.  Cabinets paint color – Annie Sloan Crème and Clear and Dark soft wax
3.  Knobs for cabinets  and switch plates – Hobby Lobby
4.  Shelf paint color – Sherwin Williams Plantation Brown SW7520
5.  Shelving unit  and cubicles – Closetmaid 9 cubical storing unit – Wal-Mart
6.  Rug – Better Homes and Gardens – Wal-Mart
7.  3 Bag Laundry Center – Better Homes and Gardens - Wal-Mart
8.  Switch plates – Hobby Lobby

Wednesday, February 27, 2013

A Place for Suds

As part of my Laundry Room Challenge, I decided I wanted a different type of container to keep my detergent stored in other than the same old cardboard boxes.  When I was relocating things from the laundry room to the garage before I started painting, I came across some old galvanized buckets that I have had for sometime.
I decided to use this one to store my detergent but it needed some sprucing up!
Since my daughter, Kelly, has introduced me to Annie Sloan paint, I can’t get enough of it! I knew this bucket would be perfect to use the paint on.
First, I cleaned the bucket with mild dish detergent.  If you are interested in the cleaning steps, you can click here.
The next step was painting the first color, which I chose Duck Egg.  It took about 30 – 45 minutes to dry (which felt like forever).
Once it dried, I applied the next color which was Crème.  Again, tic-toc.. tic-toc. 
The next step was sanding because I wanted to have some of the Duck Egg and metal to come through on the surface.  I used very fine sand paper, and sanded randomly throughout the bucket.
The next step was waxing, which I did with both the clear and dark wax to get the finished look that I wanted.
Annie Sloan

Annie Sloan
Now came the hard part (well…not really...but I hate waiting). I had to let it dry for 24 hours!
Fast forward….and here it is!
Annie Sloan

I added a label with some leftover scrapbooking supplies and tied it to the can with some raffia.
Did you make any items for your laundry room?  I hope you will share with us soon!
Happy Organizing!
Kim