Showing posts with label guide. Show all posts

Wednesday, February 27, 2013

A Place for Suds

As part of my Laundry Room Challenge, I decided I wanted a different type of container to keep my detergent stored in other than the same old cardboard boxes.  When I was relocating things from the laundry room to the garage before I started painting, I came across some old galvanized buckets that I have had for sometime.
I decided to use this one to store my detergent but it needed some sprucing up!
Since my daughter, Kelly, has introduced me to Annie Sloan paint, I can’t get enough of it! I knew this bucket would be perfect to use the paint on.
First, I cleaned the bucket with mild dish detergent.  If you are interested in the cleaning steps, you can click here.
The next step was painting the first color, which I chose Duck Egg.  It took about 30 – 45 minutes to dry (which felt like forever).
Once it dried, I applied the next color which was Crème.  Again, tic-toc.. tic-toc. 
The next step was sanding because I wanted to have some of the Duck Egg and metal to come through on the surface.  I used very fine sand paper, and sanded randomly throughout the bucket.
The next step was waxing, which I did with both the clear and dark wax to get the finished look that I wanted.
Annie Sloan

Annie Sloan
Now came the hard part (well…not really...but I hate waiting). I had to let it dry for 24 hours!
Fast forward….and here it is!
Annie Sloan

I added a label with some leftover scrapbooking supplies and tied it to the can with some raffia.
Did you make any items for your laundry room?  I hope you will share with us soon!
Happy Organizing!
Kim

Wednesday, February 13, 2013

Bathroom Curtain Tutorial

I've been under the weather the past couple of days, so pardon the slight break in blogging! In case you missed it though, my daughter did a feature post on her bathroom remodel last week. She mentioned in the blog that she made the curtains herself, and I thought it would be nice if she would share with my readers how she did it! So, here's her step-by-step:
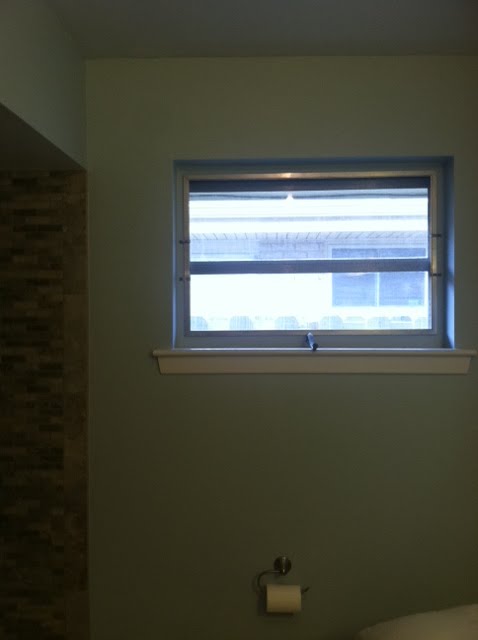
During the course of the remodel, we threw away the curtains that were on the window when we purchased the home, and pretty much immediately after the remodel was done, I knew we were going to need something to cover our window!
Bathroom Curtain Tutorial


I had seen several pins on Pinterest that advertised "No Sew Curtains" or "DIY curtains", so I immediately went back and found this one, which I thought was the easiest to follow, but here's how I did mine: 
I started by measuring my window and determining how much fabric I needed. The fabric actually faces both outward (you can see it from outside) and inward (you can see it inside the bathroom), so I needed a little more than double the length of my window. My bathroom window is pretty small (only 24 inches), so it didn't take much fabric (I think I went with two yards just to be safe). Also, the width of my window is small, so I knew a regular bolt of 45 inch fabric would get the job done. However, a little excess on either side of the width of the window (.5 in - 1 in. on each side) is important for a step that comes later on.  Be sure and take both measurements (length and width) before heading to the fabric store! 
After I picked out the chevron print fabric, I couldn't wait to get home and get started. I started by laying the fabric out face down (this makes it easier for you when it's time to glue). At this point, I measured my fabric against the measurements I took from our window. Too much excess will show, so it's important to only have a half inch to an inch more fabric for the width and a couple inches longer than double the length of the window. 

Bathroom Curtain Tutorial

Anything else you'll want to cut and discard.
Bathroom Curtain Tutorial

Now, here's where the excess on the widths are important. After measuring my fabric to my desired width and length, I applied fabric glue along the edges (what would be the right and left side of the window) and then folded them over on either side to make smooth edges. Remember, you've allowed .5 inch - 1 inch on each side, so that's the amount of space you should use to place the glue and fold over.
Bathroom Curtain Tutorial


Bathroom Curtain Tutorial


The next step is to bring the two (non-glued) edges together, so that the top and bottom come together. I had a pattern on my fabric, so I attempted to get that as close together as possible (without messing up my length) and glued the two flaps together. You should end up with a rectangle of fabric, with openings on the right and left side.
Bathroom Curtain Tutorial

Once the glue is dry (I was too anxious to wait and got glue on my fingers...and our freshly painted walls...waiting is better), it's time to hang! (Because our window is so small, we only needed two tension rods, however, if you're window is larger, you might want to use three rods, like the post I sited earlier). The first tension rod is for the top of the window. I placed the tension rod through the fabric (making sure the flaps glued together are facing outside) and then positioned the curtain at the top of the window. At this point, it just looks like fabric hanging on a rod...not cute yet...
This is where the second curtain rod comes into play... I simply placed the second tension rod about 4 inches below the first, but this time, IN FRONT of the fabric. I then pulled the front of fabric above the tension rod over the rod until it has a nice clean flap and I achieved the paneled look I was going for. I had to work with it for a little bit (30 seconds), and this was the final result:

Bathroom Curtain Tutorial

Thursday, February 7, 2013

Laundry Guides


Yesterday I spent some time working on my ideas for the Laundry Room Makeover Challenge and one thing that I knew I wanted to add to my laundry room was some type of “hands on” guide for stain removal.  Let’s face it, when we have a drop or spill one of those hard to remove stains, they usually need to be addressed pretty quickly.  The last thing you want to do is have to go hunting for a guide about how to remove that spill of red wine or grease or whatever it may be.

So, of course, that’s just what I did, the hunting I mean, but in a much calmer state of mind.  I came across this one from Martha Stewart that I think will work great for me. The print is appearing smaller in the picture below, but if you click on the link below the picture you'll be able to print a more legible version for your own laundry room! 

Source

Now I just have to decide how I want to display it in the room so that it’s easily accessible. Here are a few great ideas that I found for displaying laundry guides:

Source

Source


How’s your laundry room makeover progressing?  What kind of things are you thinking about adding or removing?  Feel free to share your ideas with us!  We are in this together!!


Happy Organizing!