Friday, April 5, 2013

March Reader Reveal

I’m super excited to share this reader’s Garage Makeover with you today. Shannon is the wife of my nephew, Drew and the proud owner of the ping pong table I talked about the other day.

She and Drew recently built their first home and being the organized girl that she is, her garage was already in  pretty good shape, so she fell into the “tidy upper” category.

She and Drew are getting ready for a garage sale so most of what you see on the left side will be gone soon!

I love that she is utilizing space going up the walls!

  I asked her how she came up with the set up of her garage and here is what she had to say:

"We didn't realize how much we accumulated in our apartment after just a year of living there.  I became slightly overwhelmed when it came to the organization of the garage but knew that I wanted it in different sections."

What were the sections that you came up with?

"Our garage functions in parts, but works together well. I designated a Sports Section for my husband. It houses the ping pong table and a golf organizer that I purchased from Bed Bath and Beyond."


"This is our Entertainment Storage Section. I am able to free up space in my kitchen by using this part of the garage to store items like beverage canisters, paper products, plastic cups and utensils.  We received a lot of entertaining items when we got married and I love being able to step into the garage and easily access them." 


 She purchased these cabinets from Target to house the bar/entertainment items.


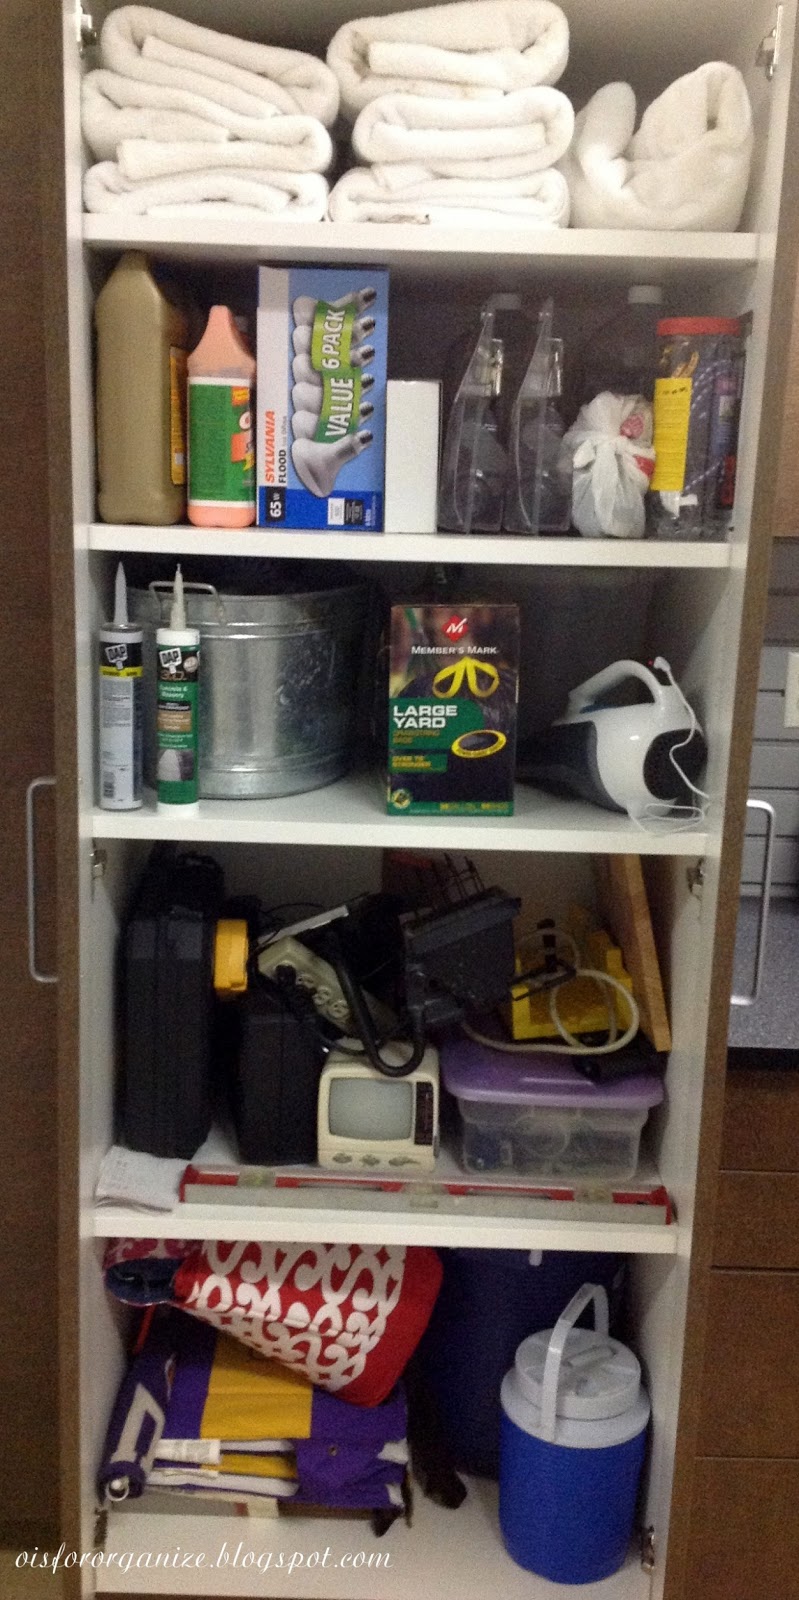
"We purchased these shelving units from Target as well for car washing/cleaning products, beach towels, hurricane kit supplies and extra large kitchen items."


 The bottom shelf is her Hurricane Supply Section.  "Being that we live in South Louisiana, we always want to be prepared in case of an emergency hurricane evacuation."


"I keep items like toilet paper, can goods, first aid kit, masks, and other recommended items in this container."

Her final thoughts:

"I'm really anxious to have a garage sale so that I can clear the left side and have it looking as good as the right."

I think she is well on her way to one heck of a nice garage!


Thanks Shannon for sharing your pictures and comments with us at O is for Organize!

Have a great weekend everyone!

Kim


Thursday, April 4, 2013

Little Visits


Today marks the one year anniversary of my mother’s passing.  She was a big part of my life, especially the last three years prior to her death when she lived in the same town with me and two of my sisters.  I think that old saying “it will get better with time” really isn’t quite right.  I can’t say that it has gotten any better, I just think I am learning to live with the loss.


My mom had a lot of love around her, so many children, grandchildren and great grandchildren.  She and my dad were such a wonderful example of what true love is and should be.

Mom and Dad were especially fond of cardinals and hummingbirds and I could share many stories of their little visits and how they appear right at the moment when I would hear myself saying “I sure would love to know what Mom would think about this”.  I choose to believe that her presence is all around me, through my family, my children, and yes, even through the birds…..


If you are fortunate to have a parent(s)  still alive, pick up the phone or go by and visit with them if you can.  They have so much wisdom to offer and it will make their day!  You could be surprised, and it might even make your day too!

Thanks for stopping by!

Kim

Tuesday, April 2, 2013

APRIL’s Challenge:


KITCHENS

Now that we have our Garages/Sheds/Cars all “Spic and Span” it’s time to move into the Kitchen!

I know we organized Kitchen Drawers in January, but for April’s Challenge, I’m talking the entire Kitchen.  So, let’s get this party started!

First, find a location in your kitchen to use as your “dumping ground”.  Clear off the kitchen table or maybe an island.  You will want to give yourself plenty of space.

Let’s break it down:

Pantry

  • Remove everything and wipe down the shelves.  Get creative and add decorative paper or a coat of fresh paint to give it a new, fresh clean look.
  • Purge any items that are expired, rotten, spoiled and stale.
  • Donate unexpired items that are never going to be used.
  • Use clear airtight containers for storing dry items.  Using square containers takes up less space and fits better on shelves.
  • Use the back of your door for added storage.  I recently re-pinned this storage item on pinterest which generated a lot of activity.
  • Utilize lazy susans and/or tiered shelving to help make the most of your space.

Refrigerator/Freezer

  • Repeat the first two bullet points from Pantry.
  • Take inventory of the remaining items in the fridge and meal plan based on what you currently have in stock.
  • Consider these fridge coasters to help keep veggies fresh longer.  Fridge Coasters also are super absorbent and add color to the inside of the refrigerator.

Cabinets/Drawers

  • Empty out all of the contents and clean the cabinets and drawers.  If you participated in January’s challenge, your drawers should already be pretty clean.
  • Decide which items you want to put back and categorize them.  Some people like to put all baking items together, while others like to keep all kitchen equipment together (ie. Mixer, blender, waffle iron, crock pot, etc.).  Decide what works best for you!
  • Wipe down all of the items that are going back in to the cabinets and drawers before placing them back in your clean cabinet.
  • You may want to put items that are used on a daily basis on your countertop.
  • Use pull out shelves and drawers for easier access.

General
  • Consider using space in your pantry and cabinets that you don’t currently use by adding command hooks and cork boards or cork tiles.
  • Place a chalkboard or erase board on or near the pantry door to help with making a grocery list.
  • Wipe down countertops, cabinet doors, and appliances.
  • There are a lot of DIY projects for the kitchen that are very inexpensive.  Use your imagination!

Here are some of my favorites that I have found on the internet:

source

source

source

source

source

source


Lastly, take lots of before and after pictures and mail them to me at oisfororganize@gmail.com.  You will have worked hard and you should want to show off your work!  

Monday, April 1, 2013

March Challenge Reveal


Whew….what a month….what a challenge!

First, I must say….this was a tough one for me!

When you see my before pictures, you will know immediately what I’m talking about!  If anyone had a garage that looked as bad as mine before, you can relate!

Every time I walked out my back door and into my garage, I cringed.  So, this challenge was one I knew needed to happen but was dreading (and so was my husband)!

But, now that it is done, I couldn’t be happier and I think my husband even said, “we could eat off the floor out here”.

I think most people (me included) love to see before and after pictures, so I’m not going to delay any further:


Okay...let me just say the cabinets were installed prior to March but I literally tossed items in them without any organization because I just wanted to get things off the floor. So, here's some before and afters of the cabinets.


I wanted this cabinet to be mainly dedicated to sports items.


This cabinet has small items like masks, sandpaper and hooks in the plastic containers on the top shelf.  I put the electric drill and air pumps on a shelf that has an electrical outlet so they can be charging when not in use. The bottom half of this cabinet is dedicated to thermoses and stadium items.


Here's a close up of those smaller items that worked great in these containers.


Not sure why I didn't take a before shot of this cabinet, maybe because I didn't have to make a lot of changes to it.  The top shelf is large light bulb storage and the second shelf is auto and motor oils for lawn equipment.  The bottom two shelves are for lawn and landscape.

Some containers my daughter made in a pottery class.  My Dad was quite handy and she made them for my Mom in his memory.  When my Mom passed, I knew I wanted to have them in my garage.  


I used drawers to store things like paint supplies, electrical cords, work rags & towels.


This is a deeper drawer that holds large extension cords.  Here are some of  my cord cuffs being put to good use!


I had these glass containers that I didn't want to get rid of so I decided to store nails and screws in them!

This next shot is really, really bad but it makes for a great Before & After, right?! 


There was a TREMENDOUS amount of purging that took place!  The ping pong table went to a nephew who has reported his ping pong skills have never been better!


I call this my Husband's Wall of Fame!  

This came together in various stages.  Thank goodness for my engineer husband for this part.  After deciding what we wanted to hang on the wall, I researched different systems that I blogged about here.  

We laid everything out on the garage floor to determine placement of items to place on wall.  

We He then had to determine how high he could install the tracks.  After locating the studs and installing the metal track, we attached the facing.  Then we were able to attach all of the hooks.


Just had to show it off again!

This is the wall closest to the door leading into my house.


These containers are used to store flashlights, batteries, small light bulbs and patio items.  I also keep my bird feed stored in the large pitcher.  It has a spout that makes it easy to fill my bird feeder.


After we saw how nice and organized the garage was, the dirty floor really stood out and we knew we had to change it.  
My brother in law shared this product with me that he used on his floor which I  have admired for years, so I didn't have to do a lot of research in making a selection.  I went with tan but it is also available in gray.  It is a much cheaper version than having it done professionally (I actually got a quote a couple of years ago and I almost passed out!)

My husband painted a 4' x 4' area at a time, (as instructed) and then I went behind him with the chips!


Well, there you have it!  Like I said, "Whew, what a challenge".

Can we say Heaven!!!
So, please, please, please send me your pics of your Garage Makeover regardless of how small or big.  I don't want to think I (& the hubby) were the only ones out there working our "you know whats" off!

Now that March and our garages/sheds/cars are done, it's time to get busy in April!

I will share a lot more about it tomorrow, but April's Monthly Challenge is:


Kitchens