Thursday, February 28, 2013

Laundry Room Reveal


Wow!  Where did February go?  Did you get your laundry room makeover complete?  I put the finishing touches on mine late last night just before my daughter, Katie, came over to take the after pics! 

Which reminds me that I want to thank my hubby, Calvin, daughters, Kelly and Katie, son-in-law, Brad and sisters, Denise and Pege, for all of their help and support.  You will definitely be able to tell it was a joint effort!
Several months ago, I was in one of my favorite shops and found a light fixture I could not leave the store without!  As soon as I saw it, I knew I wanted it for my laundry room, and that began my inspiration. (I forgot to take a picture of it before it was installed, so you'll have to wait and see it in the after shots...sorry!)
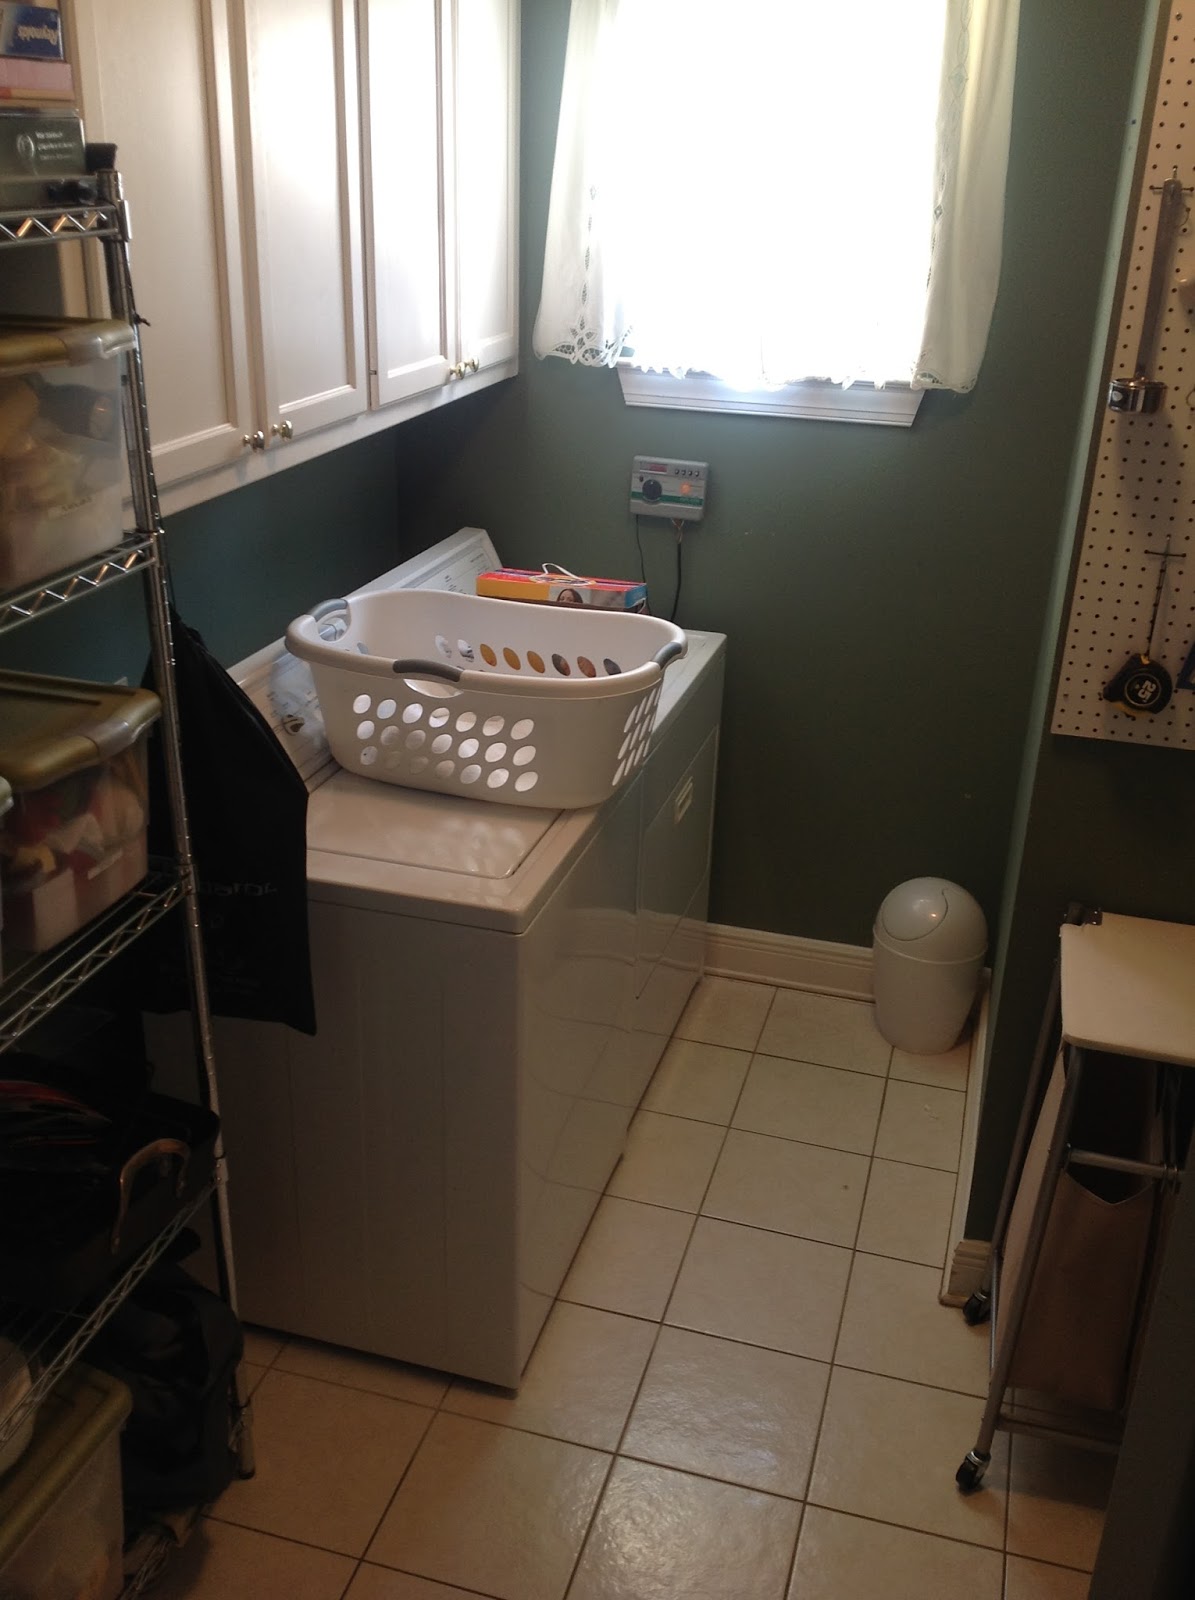
The laundry room had not been painted since before we bought the house so it was definitely in need of a fresh coat!


After seeing a color that I liked on Pinterest, I thought I knew exactly what color I wanted, but when I saw it in person, realized it wouldn’t go with the rest of the house.  So, I ended up with Sherwin Williams Silvermist and I love it!


I had no plans of painting the cabinets, but my daughter said, and I quote, “Mom, you have to paint the cabinets!”  Annie Sloan to the rescue!  I could not believe how easy it was!  No sanding, scraping, soar muscles…you get the picture!


 (And there's that light fixture I could not live without....isn't it great?!!?!)

I found these switch plates when I was looking for new knobs.  I love when I can make a small inexpensive change and it makes a big impact!

When we first moved in to our home years ago, I purchased two of these metal shelving units, which I had somewhat of a system for but wasn’t really utilizing the space to its full potential.  So, they have found a new home, which is a hint to what next month’s challenge will be!


Additionally, I had a pegboard in the laundry room that I intended to use to keep some items more accessible, but it just was not being utilized in the best way.
Some of the items that were on my pegboard are now being stored in one of the cubes in my new Closemaids Cubical Storing Unit I got to replace one of the shelving units.  The pegboard has also found a new home not far from the shelving units. It was so much fun filling up the cubicles!


An unused old picture frame was used for my Martha Stewart Stain Removal basics that I mentioned in an earlier post here.


I made the labels for the baskets to match the one I made for my laundry detergent which I posted here yesterday!


The frame hanging over the unit was actually a Goodwill find! I changed out the pink and white polka dot fabric it came with and replaced it with some leftover burlap from my WASH project.


The hubby and I had fun installing the shelf over the washer and dryer. I was actually able to use a piece of leftover wood I found in the garage for the project. I couldn’t believe it was the exact size I needed, it just needed some color!  And, it gave me the perfect spot for my DIY WASH letters (see post here) I made for the room.


Before the challenge, I was using two separate units for housing the laundry.  I liked the idea of having the unit with three bags for dividing laundry and I liked having a unit to hang clothes on, but I hated how much room they took up.  Needless to say, I was ecstatic when I found this one that combines the two into one.


Finally, this rug pulls all of my colors together and was a bargain compared to other rugs that I looked at online.

And, I know everyone loves before and afters, so just to recap…


In the end, it’s still a laundry room, but I can honestly say that it is a happier place! Stay tuned because tomorrow we will post some reader makeovers!!!


I have listed below where some of the items came from and colors if interested:
1.  Wall paint color – Sherwin Williams Silvermist SW7621
2.  Cabinets paint color – Annie Sloan Crème and Clear and Dark soft wax
3.  Knobs for cabinets  and switch plates – Hobby Lobby
4.  Shelf paint color – Sherwin Williams Plantation Brown SW7520
5.  Shelving unit  and cubicles – Closetmaid 9 cubical storing unit – Wal-Mart
6.  Rug – Better Homes and Gardens – Wal-Mart
7.  3 Bag Laundry Center – Better Homes and Gardens - Wal-Mart
8.  Switch plates – Hobby Lobby

Wednesday, February 27, 2013

A Place for Suds

As part of my Laundry Room Challenge, I decided I wanted a different type of container to keep my detergent stored in other than the same old cardboard boxes.  When I was relocating things from the laundry room to the garage before I started painting, I came across some old galvanized buckets that I have had for sometime.
I decided to use this one to store my detergent but it needed some sprucing up!
Since my daughter, Kelly, has introduced me to Annie Sloan paint, I can’t get enough of it! I knew this bucket would be perfect to use the paint on.
First, I cleaned the bucket with mild dish detergent.  If you are interested in the cleaning steps, you can click here.
The next step was painting the first color, which I chose Duck Egg.  It took about 30 – 45 minutes to dry (which felt like forever).
Once it dried, I applied the next color which was Crème.  Again, tic-toc.. tic-toc. 
The next step was sanding because I wanted to have some of the Duck Egg and metal to come through on the surface.  I used very fine sand paper, and sanded randomly throughout the bucket.
The next step was waxing, which I did with both the clear and dark wax to get the finished look that I wanted.
Annie Sloan

Annie Sloan
Now came the hard part (well…not really...but I hate waiting). I had to let it dry for 24 hours!
Fast forward….and here it is!
Annie Sloan

I added a label with some leftover scrapbooking supplies and tied it to the can with some raffia.
Did you make any items for your laundry room?  I hope you will share with us soon!
Happy Organizing!
Kim

Friday, February 22, 2013

Freedom Filer Update

As promised on my previous post here, today’s post is to update you on my experience with my new filing system, Freedom Filer.

Here are five things I like about it:

  1. Different colored labels by category. 
Why:  Makes it easy to remember where the file is that you are looking for.


  1. Pre-printed labels
Why:  Saved me the step of having to type and print.


  1. Self-purging filing system
Why:  Pretty self explanatory!  The system is designed in a way that it is constantly maintaining itself!

  1. Clutter free desk top
Why:  Because the system is designed so well, filing is no longer a task that I put off until it completely took over my office.

Freedom Filer

  1. Quick Index Guide
Why:  If I’m not sure of where to file system, included in the instructions is a guide (cheat sheet) that helps me determine quickly where I need to file something.

Freedom Filer

And now, five things I didn’t like about it:

1.   Initial Set Up

Why:  Time consuming.  But let’s face it, any new filing system would be time consuming.

2.   Ummmmmm….that’s it!

So, would I recommend it, you ask?  ABSOLUTELY!!!!!

Why:  Well, I just gave you five reasons, but if you are still not sure, then run over to http://www.freedomfiler.com/ and I’m pretty sure you will be sold!

Pssst…Oh yeah, here’s a look at what my file drawers look like now:

Freedom Filer

Has anyone else using The Freedom Filer System?  Share your thoughts with us!


Have a great weekend!


Kim

Wednesday, February 20, 2013

Breaking it All Down

One thing I often hear from my clients is that they get so overwhelmed when they just THINK about organizing.  I often respond with “if you are looking at the whole thing at once, it probably is overwhelming.”  I would venture to say that most people don’t walk into a room, see what needs to be done and have oodles of time to do it all at once.
 
Source
It’s like that old saying “Rome wasn’t built in a day”.  By breaking things down into smaller pieces it allows us to think more clearly how to tackle each piece.  
Here are some tips that might help:
  1. Assess the situation/problem.   
  1. What is currently working and what isn’t?   
  1. Ask yourself, “What do I want the final product to look like?
  1. Design a plan.  Example: a shelf in the laundry never stays clean and orderly.  A plan would be:
    • Remove everything from shelf
    • Wipe shelf clean
    • Decide what needs to go back on shelf
    • Determine container for items returning
    • Label container
5.   Implement the plan.
Organizing doesn’t have to be a painful experience.  Take some deep breaths.  Relax.  Stay calm.  Enjoy the process and the results!!
Happy Organizing!

Friday, February 15, 2013

Laundry Challenge Update


We are halfway through February already and hopefully your laundry room is going through a transformation that you will be so happy and satisfied with when complete! 

Over the weekend, I worked on a project that will be incorporated into my laundry room makeover.  I knew that I wanted to put some type of wording….whether it be LAUNDRY or WASH ROOM or something else and so I started my search around the house for what I could use.  I came across some burlap ribbon and it got my juices flowing.  I wasn’t able to use the ribbon but I knew what I needed.

Off to Hobby Lobby I went…

In no time at all, I found just what I was looking for, but more than I wanted to spend.  So, my search continued and I found just what I needed.

I couldn’t way to get home and put it all together.

Laundry Room Challenge

I started with cutting the fabric with about an inch overlap on each side of my cork board square. 

Laundry Room Challenge
Then I used my hot glue gun to adhere the burlap to the cork board. 

Laundry Room Challenge

Before I glued the next side, I made a diagonal cut at each corner to remove some of the bulk, and then continued the same steps for each side.  You need to pull the fabric tight as you glue each side because when you turn the cork board over you don’t want to have any slack.  If you have a couple of extra hands around the house, you may want to recruit them to help you with this step.

Laundry Room Challenge

The next step was painting my chipboard letters.  I thought I could use my small paintbrush, but switched to a 1” foam brush which made the paint go on much smoother. 

Laundry Room Challenge

Laundry Room Challenge

(Tip:  I found on Pinterest  (after the fact unfortunately) that if you use a thimble when painting something small like this, it’s a lot cleaner.

Once the letters were dry, I used hot glue again to attach them to my burlap squares.

Laundry Room Challenge


Laundry Room Challenge

Less than an hour and a half later, I was done.

Laundry Room Challenge

In case you might want to do this project yourself, here is what you will need:

Burlap fabric – no more than ½ yard  $1.99
4 letter chip boards - $.99 each (about 3 ½” tall)
1 package of 4 - 4” x 4” cork board tiles $4.99
Paint
Hot glue
Scissors
Foam brush


I was able to get the letters and cork board tiles at 30% off and the entire project was less than $10!

I can’t wait to get my laundry room makeover complete and see how the letters look in the room!

Laundry Room Challenge


Here’s a peek at my color scheme... 

Laundry Room Challenge

So, what was your first laundry room project?  Is anyone else planning to put use some type of words?